Installing MySQL Server and Workbench: A Complete Guide
Written on
Chapter 1: Introduction to MySQL Installation
In this guide, we will explore the steps required to install both MySQL Server and MySQL Workbench on a Windows machine. These tools provide an effective environment for managing and editing databases. MySQL Workbench is user-friendly and offers various features that simplify writing SQL queries.
To install MySQL, all you need is a stable internet connection and sufficient disk space. If you are using a Mac, separate instructions are available.
To begin, visit the MySQL Workbench downloads page and click on the “DOWNLOADS” button.
Next, select your operating system, which in this instance is Microsoft Windows, and then click the download button at the bottom of the page.
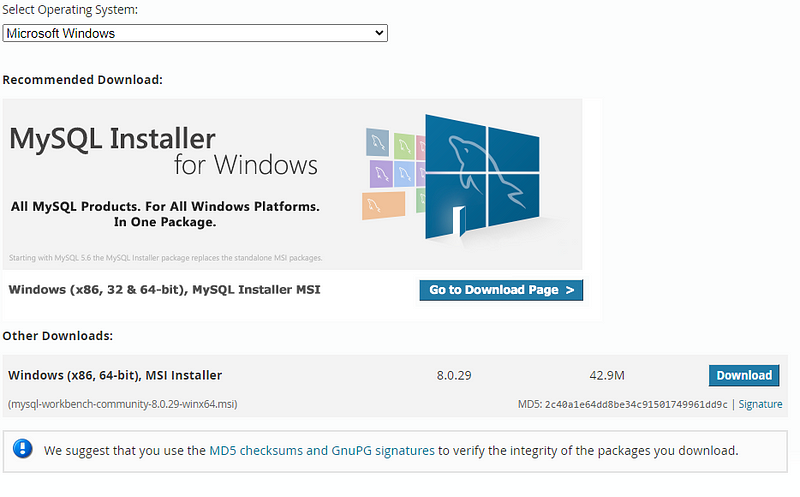
If prompted to create an Oracle account, you can simply choose “No thanks, just start my download” at the bottom of the screen.
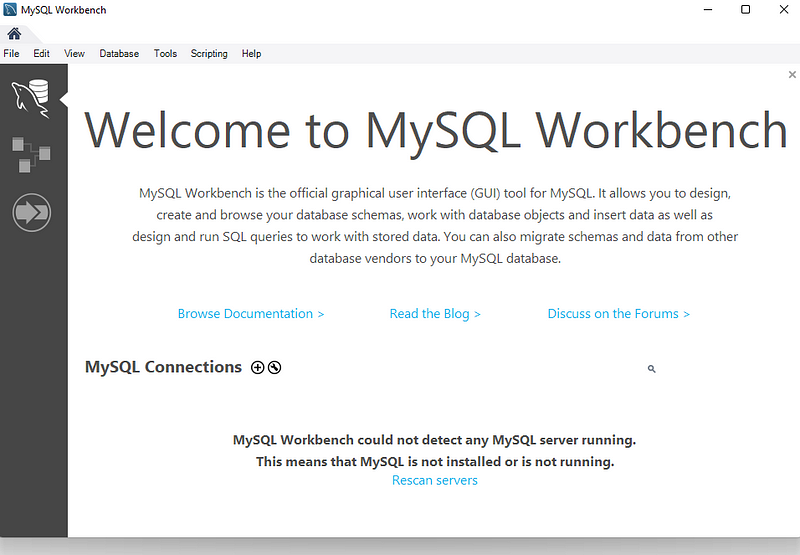
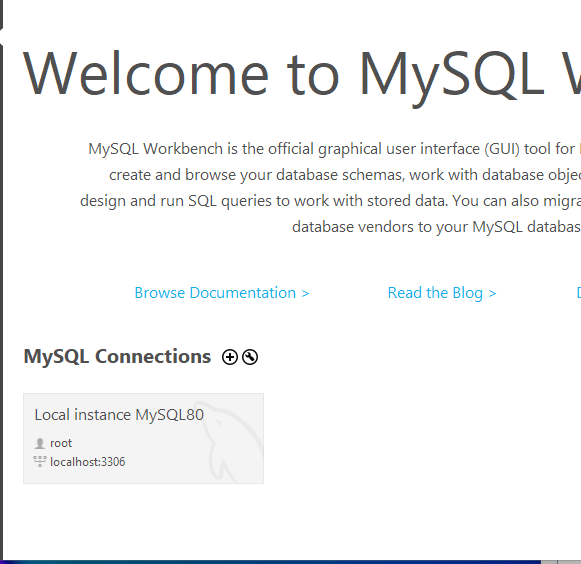
Once you have downloaded the setup file, proceed to the Setup Wizard. Here, you will have the option to choose between a complete or custom installation. For this tutorial, we'll select the complete setup. After the installation finishes, you can open MySQL Workbench. If everything was done correctly, you should see a screen similar to this:
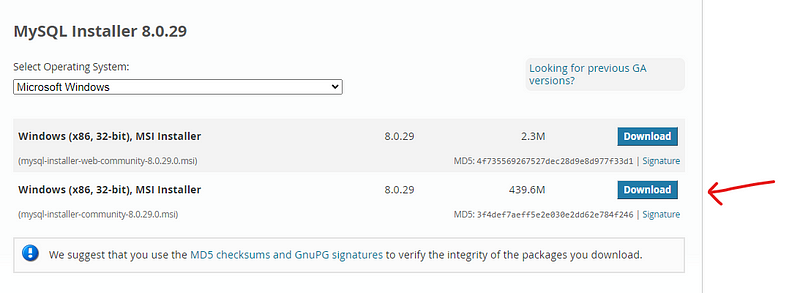
Now, to install a MySQL server, navigate to the MySQL Community Downloads page. Select Microsoft Windows as your OS and choose the appropriate release for installation.
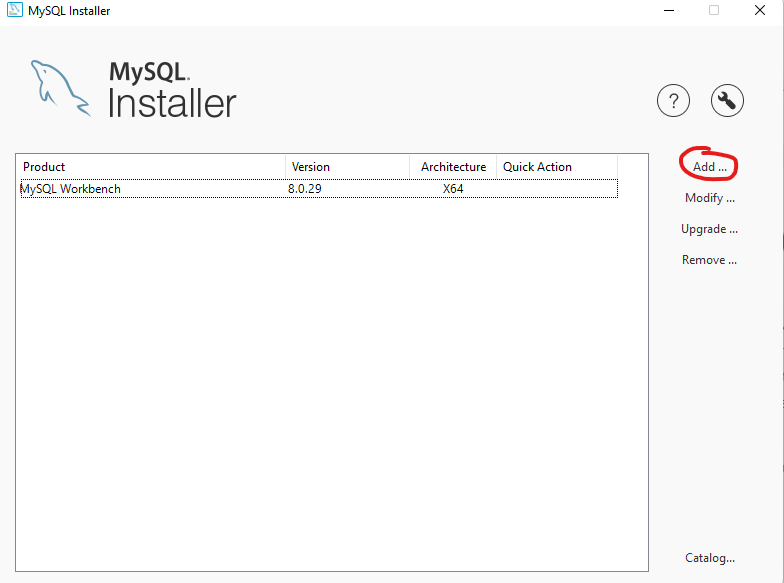
On the product page, locate and select "Add ..." in the sidebar.
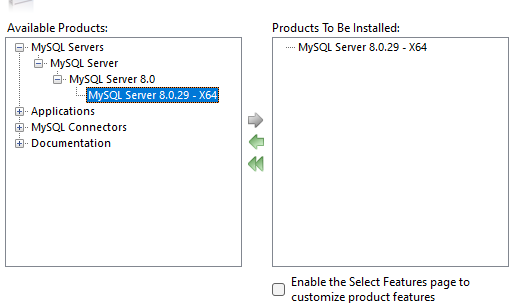
This action will take you to the Select Products page, where you can choose the version of MySQL Server. Navigate through the product tree to find “MySQL Server 8.0.29 — X64” and select it. This will enable the green arrow, allowing you to add it to the "Products to Install" box. Afterward, click “Next” to proceed.
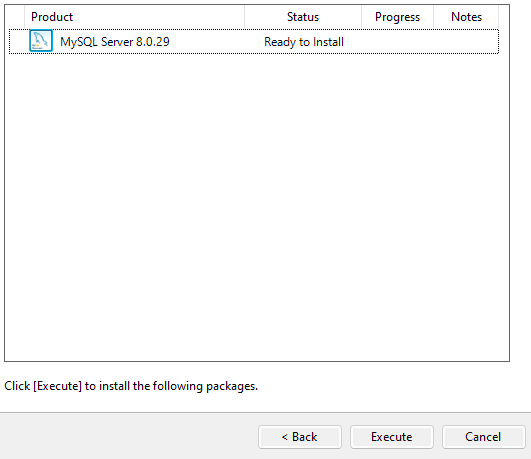
You will then see a screen listing your MySQL server in the product list. Click "Execute" to begin the installation.
After the installation is complete, click “Next.” On the "Product Configuration" page, if your server indicates "Ready to set up," click "Next."

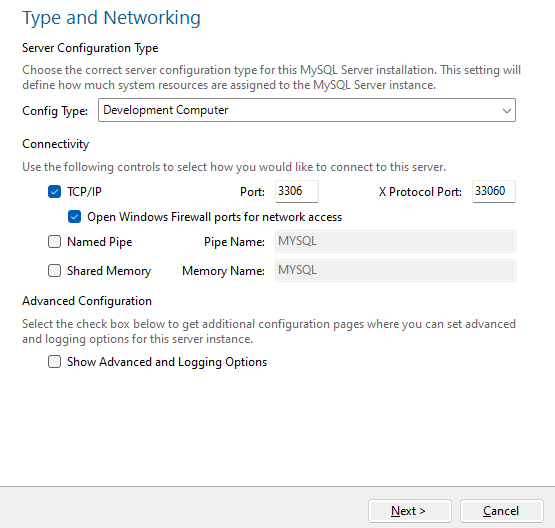
On the “Type and Networking” page, you can keep the default settings unless you wish to modify the port number or other configurations. When finished, click “Next.”
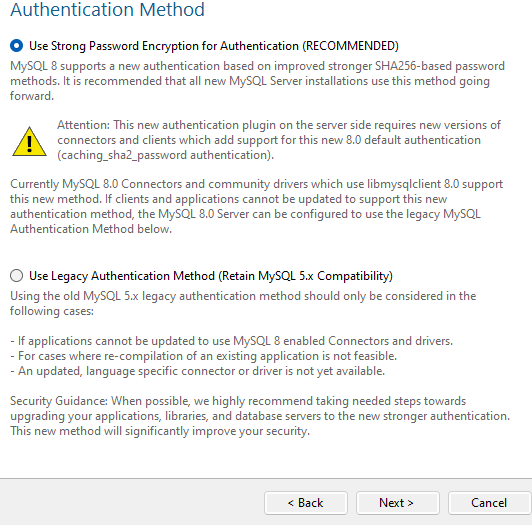
In the “Authentication Method” section, I recommend using “Strong Password Encryption,” although you can opt for the Legacy version if preferred. Click “Next” when ready.
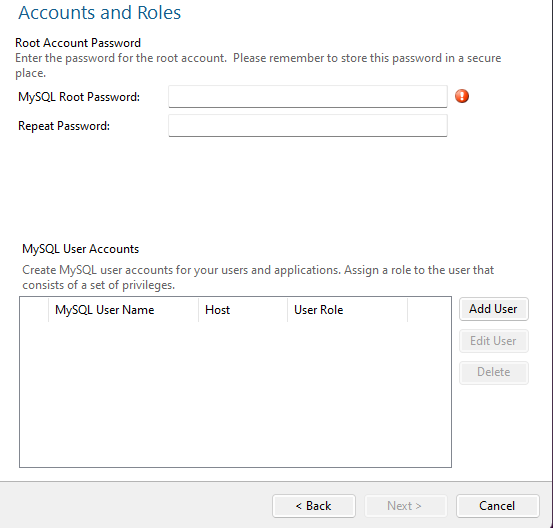
For the “Account and Roles” section, enter a secure password you will remember. You can leave the “MySQL User Accounts” section blank, as a default username “root” will be automatically created.
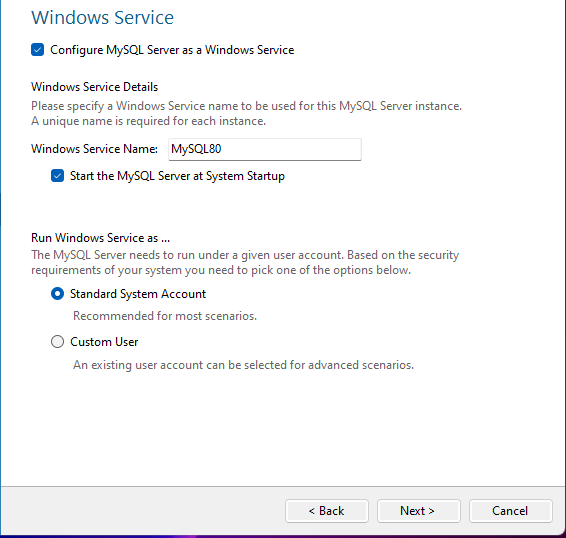
In the “Windows Service” configuration page, keep the default settings and click “Next.”
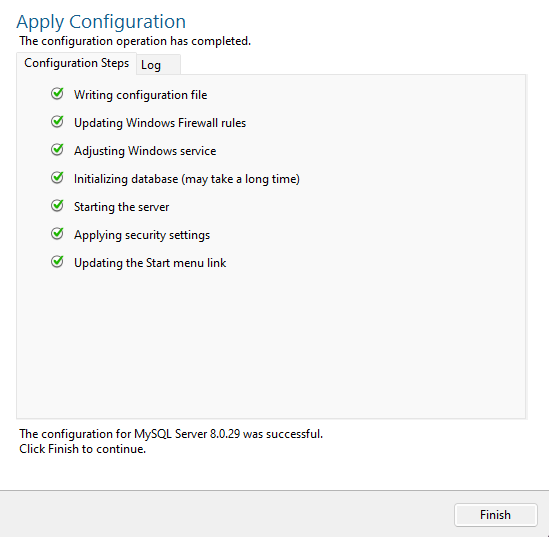
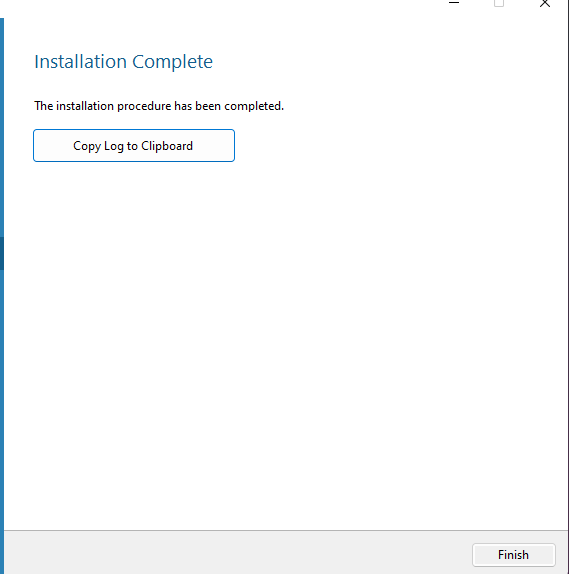
On the "Apply Configuration" page, click Execute to apply your changes. Once completed, you should see the following screen.
Click “Finish” and on the next page, select “Next” to reach the “Installation Complete” page, indicating that the setup is finished.
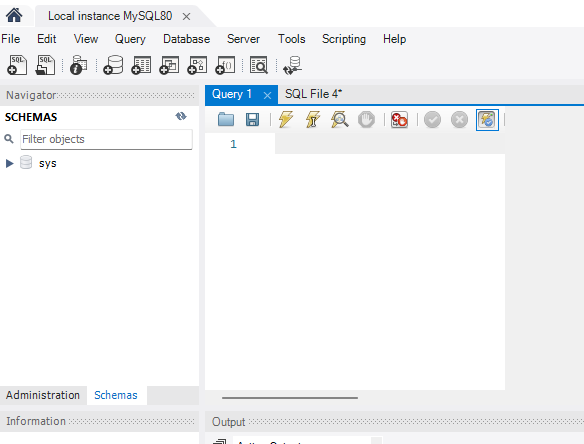
Now return to MySQL Workbench and click the "Rescan Servers" button located at the bottom. If everything was done correctly, your server should now appear.
Double-click your server and input the password you created during installation to access the workbench.
Congratulations! You have successfully installed MySQL on your computer. I hope you found this guide helpful. Should you have any questions, feel free to leave a comment, and I will respond as soon as possible.
Have a wonderful day!
Chapter 2: Helpful Video Guides
To further assist you in the installation process, here are some video tutorials:
This video, "How To Install MySQL (Server and Workbench) - YouTube," provides a detailed walkthrough of the installation process.
The video "Install MySQL Server and Workbench | Simplilearn - YouTube" offers additional insights and tips for setting up MySQL Server and Workbench effectively.